Prepare the base
The base must be level, sound and stable. Level it before starting: extra adhesive cannot make up for an uneven base.

Glass Brick · SOLID GLASS BRICK 200 × 100 × 50 MM
Clean surfaces. Controlled adhesive. A steady pace.
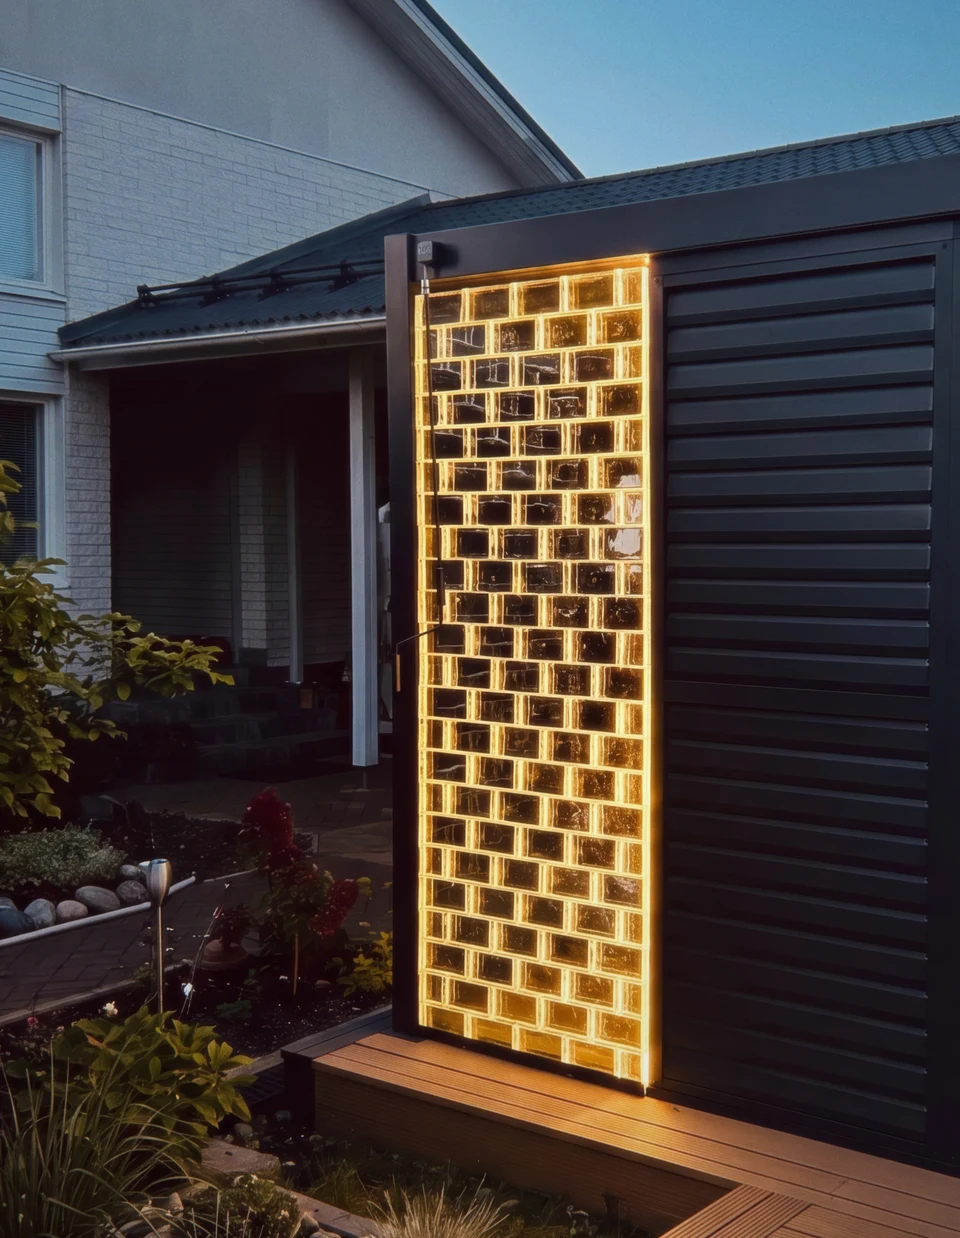
Do not try to build the whole wall in one session.
These diagrams show layouts, not structural or fixing designs.
Have ready: a caulking gun, cleaner, lint-free cloths, spirit level, straightedge and sealant finishing tool.
PREPARATION
The base must be level, sound and stable. Level it before starting: extra adhesive cannot make up for an uneven base.
Check the actual length, exposed ends and positions of half bricks. Choose the texture direction. Ask us about ready-made half bricks before ordering.
Wash and dry the bricks if needed. Degrease the bonding faces with a compatible, residue-free cleaner and allow it to evaporate. Do not touch prepared faces; wear clean gloves.
Outdoors, shelter the work area from rain while applying and curing the adhesive. Follow its requirements for temperature, humidity and outdoor use.
ADHESIVE & WORKING PACE
Use a transparent adhesive suitable for glass and the planned construction.
Keep clear of the visible edges to limit squeeze-out.
Diagram only; adjust the amount on the first few bricks.
Apply two beads along the top face, and adhesive to the end face that meets the next brick. Press gently and check alignment immediately. Do not squeeze all adhesive out of the joint.
In our experience, one 290 ml cartridge of Soudal Fix All Crystal covers approximately 70 bricks when applied in two beads. Initial use is usually higher while the installer gets used to the technique. Allow some extra.
The 70-brick estimate refers to our usual 50 mm thick wall. For other orientations and bonding areas, check consumption with a trial section.
In our experience, up to 6 courses a day have been possible at a steady pace. This is a guide, not a target: progress depends on the adhesive, temperature and humidity.
Continue only when the lower courses have set sufficiently and no longer move. A surface skin does not mean the whole adhesive layer has cured. Follow the instructions for your chosen adhesive.
BOND PATTERNS
These diagrams show layouts, not structural or fixing designs.
Face 200 × 100 mm · ≈50 bricks/m²
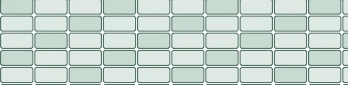
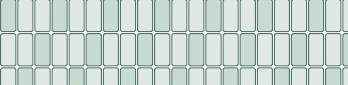
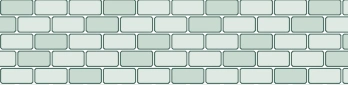
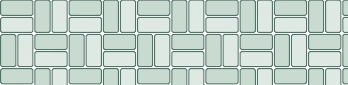
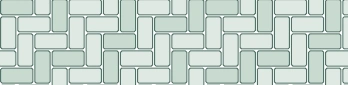
Face 200 × 50 mm · ≈100 bricks/m²
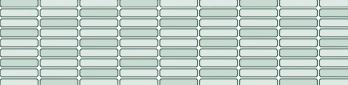
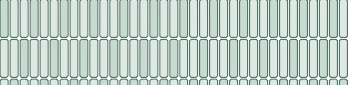
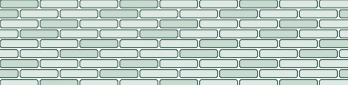
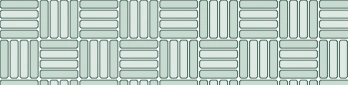
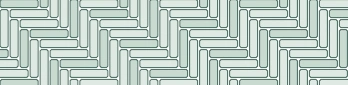
Counts per m² use the nominal face area, excluding joints, edge cuts and spare material. Count half bricks separately; calculate exact quantities by course and actual dimensions.
For basket weave and herringbone, test a module first: actual brick and joint dimensions affect pattern alignment.
Open the calculatorALIGNMENT & FINISHING
While the adhesive is soft, courses may shift and the centre of the wall may bulge. Check alignment with a straightedge and spirit level after every few bricks.
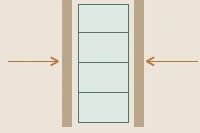
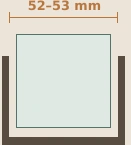
Temporary supports or guides help maintain alignment. Contact surfaces must be clean, free of grit and protruding fixings. Do not overtighten clamps. Clear contact with excess adhesive immediately so supports do not bond to the wall. Remove them once the wall is stable without them. Do not force set brickwork back into position.
A channel is an optional edge detail. Select the construction, base and fixings for the project; an engineer determines permissible loads. Temporary supports do not replace permanent fixings. For outdoor installation, account for exposure conditions.
Remove soft excess with a sealant finishing tool. Use a blade only where scraping uncoated smooth glass is permitted; never on textured, painted or mirrored surfaces. Do not load the wall before curing. Clean with a soft cloth and a compatible, non-abrasive cleaner.
Ask us about ready-made half bricks. Cut and drill before installation, securing the workpiece and using tools designed for glass. Use cooling only as permitted by the tool manufacturer. Clean and degrease the faces afterwards. Protect cables from sharp edges.
Based on Glass Brick experience and the Soudal Fix All Crystal technical data sheet.
We do not provide installation services, but we can help you choose a laying pattern, check quantities and understand the guide.
In our experience, one 290 ml cartridge of Soudal Fix All Crystal covers approximately 70 bricks when applied in two beads. Initial use is usually higher while the installer gets used to the technique. Allow some extra. The 70-brick estimate refers to our usual 50 mm thick wall. For other orientations and bonding areas, check consumption with a trial section.
In our experience, up to 6 courses a day have been possible at a steady pace. This is a guide, not a target: progress depends on the adhesive, temperature and humidity. Continue only when the lower courses have set sufficiently and no longer move. A surface skin does not mean the whole adhesive layer has cured. Follow the instructions for your chosen adhesive.
Outdoors, shelter the work area from rain while applying and curing the adhesive. Follow its requirements for temperature, humidity and outdoor use.
A channel is an optional edge detail. Select the construction, base and fixings for the project; an engineer determines permissible loads. Temporary supports do not replace permanent fixings. For outdoor installation, account for exposure conditions.
Ask us about ready-made half bricks. Cut and drill before installation, securing the workpiece and using tools designed for glass. Use cooling only as permitted by the tool manufacturer. Clean and degrease the faces afterwards. Protect cables from sharp edges.
The calculator lists whole and half blocks separately for the layout. Below, the order recommendation rounds to boxes and allows at least 10% spare, counting any surplus already in those boxes.
Our main warehouse is in Tallinn. Delivery is calculated according to your address and order size. We confirm availability and arrange delivery or collection.
Let’s discuss your project
Send a model, approximate dimensions or an idea. We will clarify quantity, availability and collection or delivery options.
Email usOpens your email app. If it is not configured, write to info@glassbrick.ee.